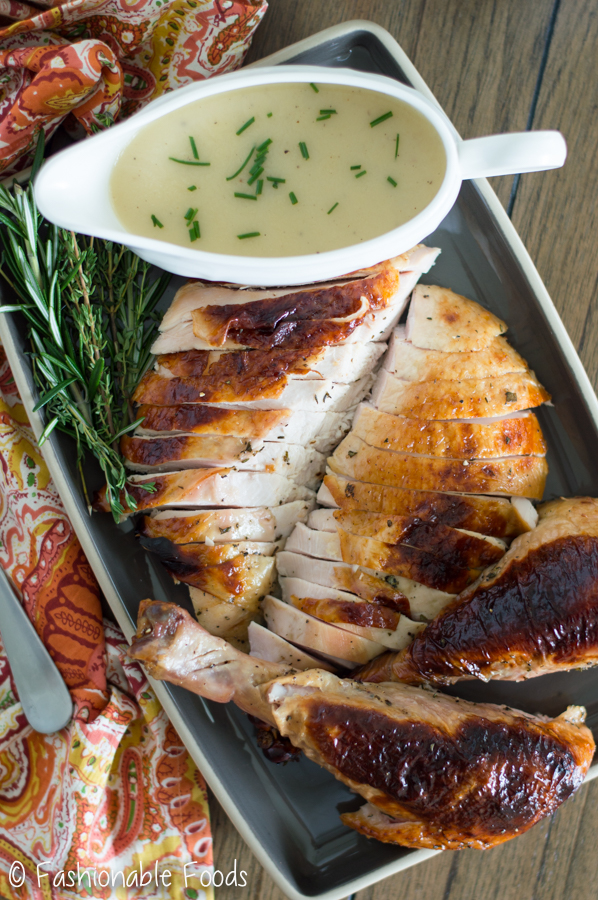
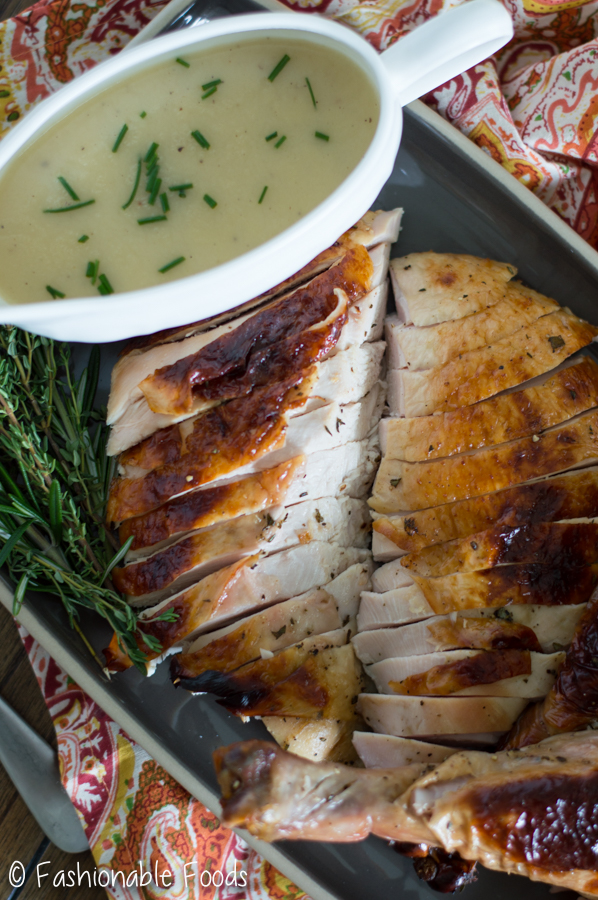
Cooking a turkey for Thanksgiving may seem daunting, but with a few tricks up your sleeve, you’ll be on your way to a perfect roasted turkey in no time! I soak mine in an easy apple cider brine before rubbing with a buttery herb paste and roasting to perfection. It’s a simple method that yields delicious results!
 **This recipe was originally posted in 2013 and has been updated with new photos and a more detailed recipe. The text from the original post remains the same.
Cooking a Thanksgiving turkey seems to be a daunting task for many people – it’s either too dry, under seasoned, or the worst scenario: under cooked. I’ve been making the turkey for my holiday meal for around 10 years now and I’ve learned quite a bit about preparing a perfect, juicy, and flavorful bird. With a little planning and key information, you too can make a great Thanksgiving turkey!
Frozen turkeys are widely available and very affordable, but I prefer to purchase a fresh bird from my local farm or butcher. I find that the flavor is superb to a frozen turkey, and you get a juicer product. I’m not saying there is anything wrong with frozen turkeys, but Thanksgiving only comes once a year, so I think it’s worth the extra cost to go with fresh. If you choose a frozen turkey, make sure you allot 2-3 days for proper thawing – you don’t want to wake up Thanksgiving morning to realize you never thawed your turkey!
Once you chose your turkey, you’ll want to decide if you would like to brine it or not. I highly recommend brining, which is soaking the turkey in a salt solution to impart flavor and juiciness. I repeat: I HIGHLY RECOMMEND brining your turkey! Although there are mixed feelings on brining (some don’t feel it’s not worth it and others say it makes for “wet” meat), I swear by it. I’ve tried no brining, dry brining, and wet brining. Wet brining wins every.single.time.
I’ve done experiments (AKA too lazy) where I didn’t brine and the turkey gets mediocre reactions by guests. Whenever I brine, the turkey is raved about. So, you decide, but I’m telling you – it makes all the difference!
How to Brine
If you choose to brine, keep a few things in mind:
- You need a large vessel to hold the turkey. If you’re going with a whole turkey (up to about 12 lbs.) you can use 2.5 gallon storage bags. I always double bag and add the turkey into a grocery bag for extra protection. Then in the fridge it goes for at least 24 hours, but up to 36 hours. IF you don’t have fridge space or your turkey is too large for the storage bag, a (clean) 5 gallon bucket lined with clean bags works great (also a large cooler works, too)! However, you’ll need to line it with ice and monitor that the temperature stays below 40º.
- If you’re using a frozen turkey, read the label to see if it’s been injected with a salt solution. This is another reason I prefer using a fresh turkey. A lot of frozen turkeys have already been injected with a salt solution, which means if you brine on top of that you could end up with a salty bird. So, if you can’t find a turkey that hasn’t been injected you’ll just want to reduce you brine time to overnight (no more than 12 hours).
- RINSE. Always rinse the turkey after brining and pat it as dry as you can. If you don’t rinse you’ll end up with super salty gravy. Trust me, I speak from experience.
Cooking the Turkey
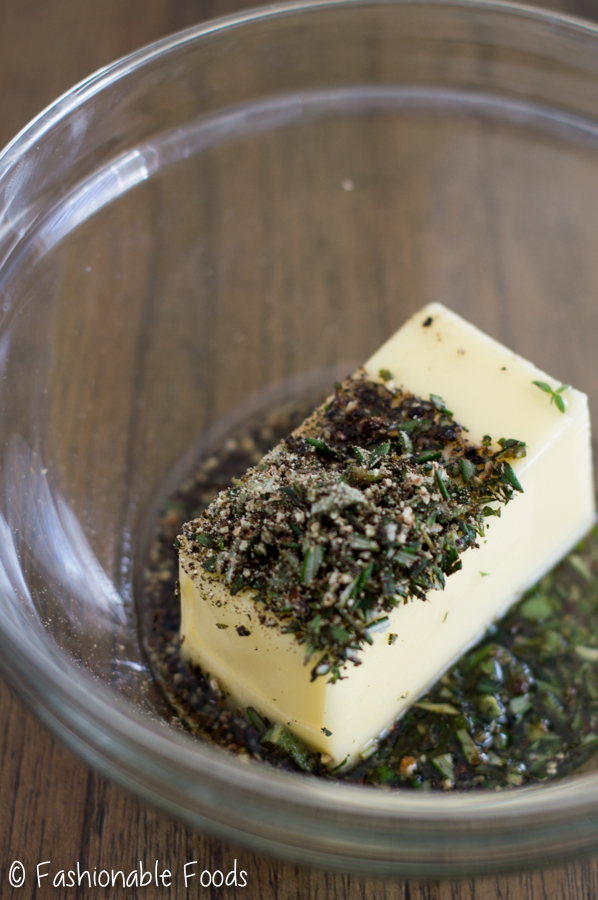
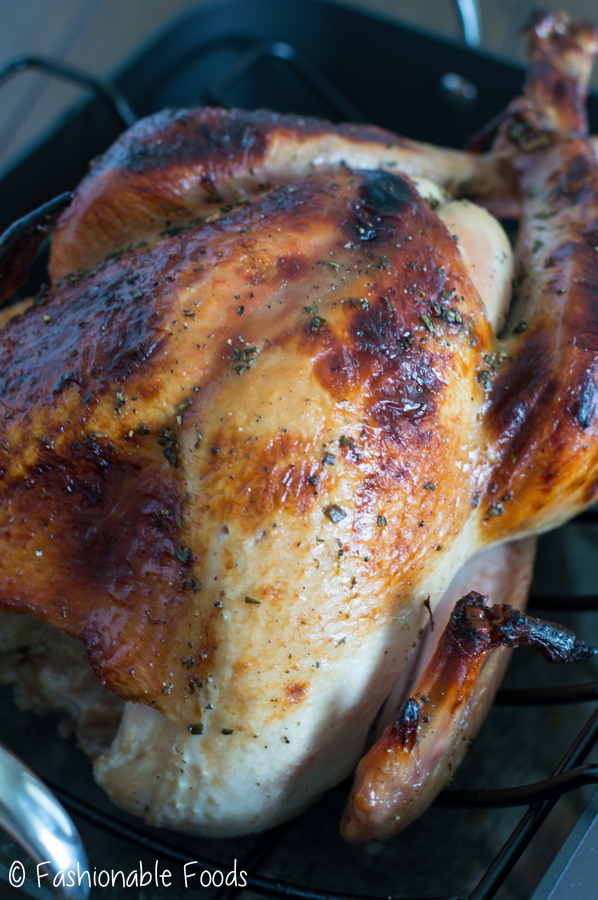
I like to rub the skin of the turkey with a butter, olive oil and herb paste; it gives the turkey a beautiful appearance and a great flavor. In order to get perfectly brown and crispy skin you’ll want to roast the turkey at 500º for 15-20 minutes and then reduce the oven to 325º for the remainder of the time. Crisping the skin in beginning and then reducing the temperature allows the meat to cook more evenly and stay moist. If you try and crisp at the end, you risk drying out the breast meat.
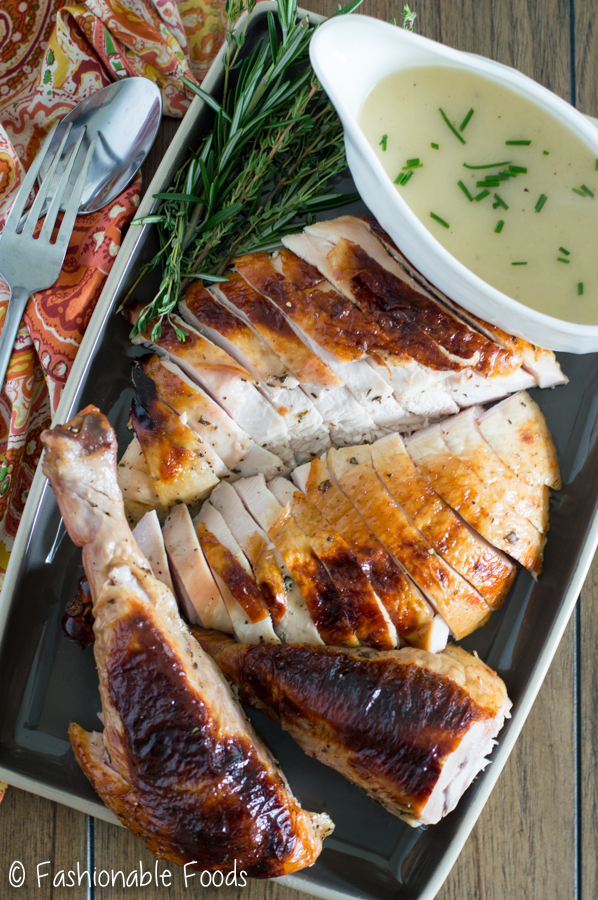
When the turkey reaches an internal temperature of 160º you want to take it out and let it rest for at least 20 minutes. The meat will continue to cook and reach the desirable temperature of 165º – this is the key to a juicy bird! While the turkey rests is the perfect time to make the gravy. I always designate one person to carve the bird while I get everything else to the table.
Recap
Let’s recap my top turkey-making tips:
- Brine for a juicy, flavorful bird.
- Rinse your brined turkey and pat it very dry before rubbing it with the olive oil, butter, and herb paste.
- Start the turkey in a HOT oven (500º) and then reduce to 325º.
- Use a thermometer! I can’t stress this enough. And not the $10 thermometer from the grocery store, get yourself a good-quality probe thermometer with a timer. These things are life-savers. Trust me – I’ve had some crappy thermometers over the years.
- REST. Probably the most important step to a great turkey no matter the method. Resting allows the juices to redistribute back through meat so they don’t all come pouring out when you carve. Just tent with foil and let it rest for no less than 20 minutes. I promise it will still be hot. Plus, this gives you plenty of time to make gravy!
Hopefully these tips will help you to prepare a perfect turkey this Thanksgiving. If you do end up with a dry bird don’t worry – pour a little chicken broth over the meat and no one will ever know!!
Will you be making your Thanksgiving turkey? Are you a seasoned turkey maker or a first-timer?
- 8 Cups Apple Cider
- 1 Cup Kosher Salt
- ½ Cup Light Brown Sugar
- 2 Cinnamon Sticks
- 2 Tablespoons Black Peppercorns
- A Few Sprigs of Fresh Herbs (I use a mix of Rosemary, Sage, and Thyme)
- 8 Cups Cold Water
- 1 (10-12 lb.) Whole Turkey
- 4 Tablespoons (½ Stick) Butter, softened
- 1 Tablespoon Olive Oil
- 2 Teaspoons Thyme, finely chopped
- 1 Teaspoon Rosemary, finely chopped
- 1 Teaspoon Sage, finely chopped
- 1 Teaspoon Black Pepper
- Handful of Fresh Herbs
- 1 Lemon, halved
- 1 Onion, peeled and halved
- 4 Cups Turkey or Chicken Stock
- 4 Cups Water
- 6 Tablespoons Butter
- 6 Tablespoons Flour
- 4 Cups Liquid (reserved drippings plus additional stock if needed)
- Salt & Pepper, to taste
- Heat the apple cider, kosher salt, and brown sugar in a medium pot over medium-high heat just until the salt and sugar dissolve. Set the mixture aside to cool completely.
- Place the turkey in a 2.5 gallon storage bag and pour the apple cider mixture over top. Add in the cinnamon sticks, peppercorns, and fresh herbs. Carefully pour in the cold water, making sure the turkey is covered. Double bag the turkey using a few grocery bags or other large bag. Refrigerate for at least 24 hours, but up to 36 hours.
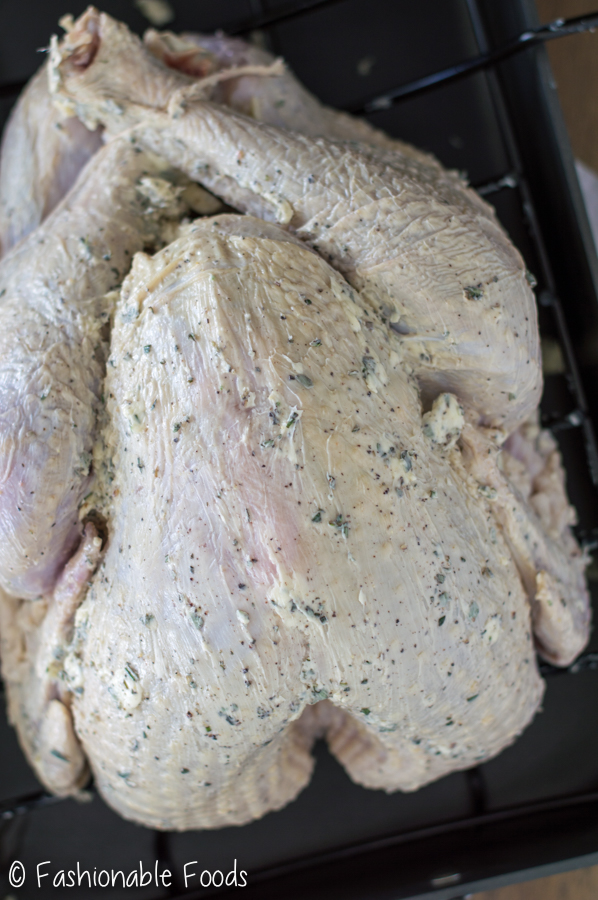
- Preheat oven to 500º. Remove the turkey from the brine solution (discard the brine) and pat the turkey very dry. Place the turkey in a large roasting pan with rack.
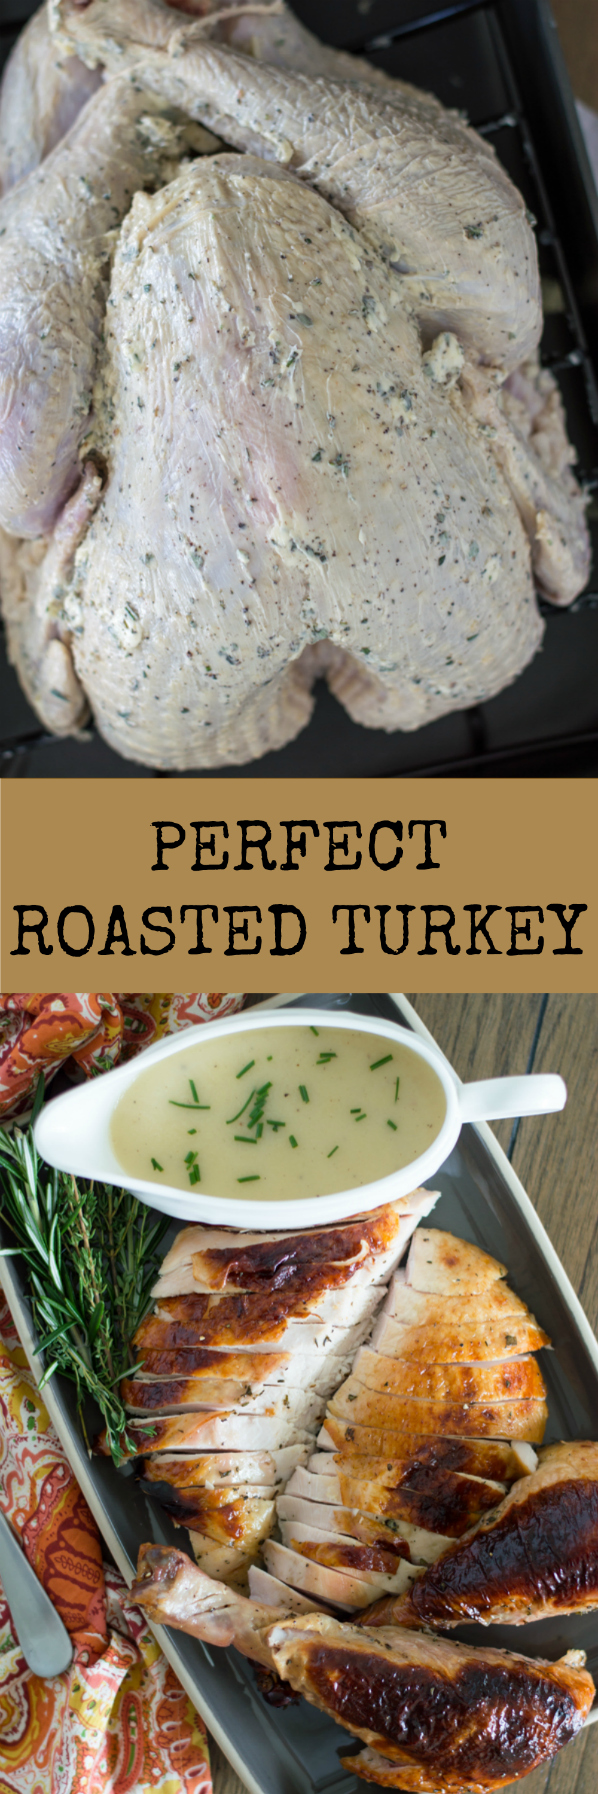
- In a small bowl, combine the softened butter, olive oil, chopped herbs, and black pepper. Rub the mixture all over the turkey.
- Stuff the cavity of the bird with some fresh herbs, the lemon, and the onion. Tuck the wings underneath the bird and tie the legs together if necessary.
- Pour the turkey or chicken stock and water into the bottom of the roasting pan. If using a probe thermometer, insert the probe into the thickest part of the breast. Set the temperature for 160º.
- Roast the turkey for 20-25 minutes at 500º, or until the skin begins browning. Reduce the heat to 325º and continue roasting until the temperature of the breast reaches 160º and the thickest part of the thigh is 170º, about another 2.5-3 hours.
- Remove the turkey and let it rest for about 20-30 minutes, allowing the juices to redistribute and the carryover cooking will bring the temperature up to 165º.
- Strain the pan drippings through a fine mesh strainer and allow to rest for a minute so the fat rises to the top. Melt the butter in a medium saucepan and whisk in flour to make a roux, cook 1 minute. Spoon off as much fat as possible from the drippings and add enough turkey or chicken stock to yield 4 cups of liquid. Whisk the drippings into the roux and bring to a simmer until thick. Taste the gravy and season with salt and pepper if needed. If you want a thinner gravy, add additional stock to achieve your desired thickness.
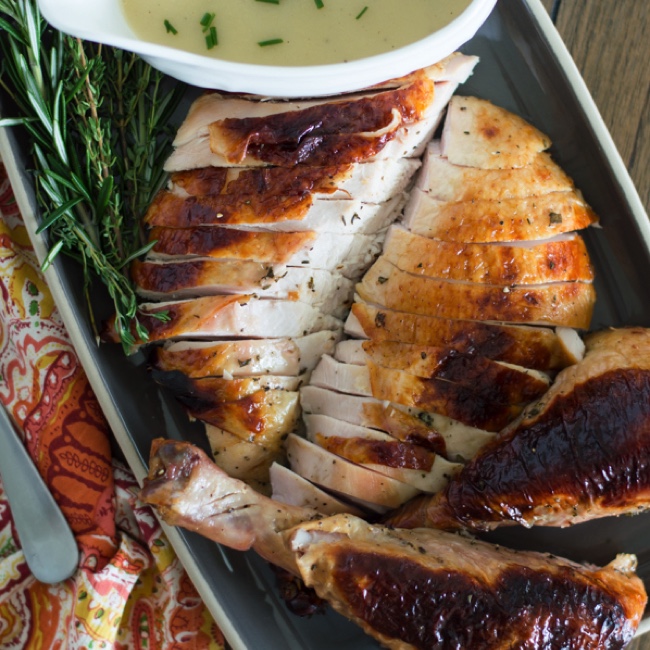
- Carve the turkey and serve with the gravy.
Hi Keri,
I’ve never roasted a turkey before, but with this detailed recipe I feel confident that I can do so and it will turn out just fine. One key function I will ensure I remember to carry out is to brine the turkey. The last thing I want is for my family to be making fun of me about my dry turkey at the Thanksgiving dinner. I am looking forward to giving my wife and children a grand surprise this year for thanksgiving.
Brian recently posted…5 Best Pellet Grills To Buy in 2019 (#3 is My Favorite)
Hands down the best turkey I’ve ever cooked. The flavor was awesome, and everything was moist.
Za. rizik recently posted…Best Tips & Tricks to Clean Kitchen Appliances
Thanks for sharing your great recipe Perfect Roasted Turkey. I will try it by tomorrow.
Judith Fertig recently posted…Complete guide to Weber Smokey Mountain Modifications (WSM Mods)
Looks so yummy. It will awesome if you share a video tutorial for this receipt. Waiting for your video tutorial. Thanks
Kyra Rodriguez recently posted…How To Choose The Best Juicer: Complete Buyer’s Guide
I love roasted turkey. Now I know a new roasted turkey recipe.
Thanks for sharing this recipe.
Was looking for some Roasted Turkey recipe, thanks for sharing best way to do it so
Gas Grills Guide recently posted…Best Flat Top Grills – Review & Buying guide for 2020
I love Perfect Roasted Turkey – so tasty!
Erik Dandin recently posted…Top 10 Best Walking Shoes for Women in 2020
Hope I get to try Perfect Roasted Turkey, thanks for sharing the recipe.
Oh, this appears to be a very simple and wonderful dish! I really like how it simply requires a few different components. The ideal choice for a hectic weeknight. Absolutely going to give this recipe a shot very soon!
This is such a helpful turkey guide—the apple cider brine and herb paste make the whole process feel much less intimidating. I like having a quick browser-game break while holiday prep is going, so this was a fun read to save before Thanksgiving.
This is a useful look at Perfect Roasted Turkey – Fashionable Foods, especially the practical tradeoffs behind the advice. geometrydashjp.com is related to geometrydashjp.com works in the tools space, so I appreciated the concrete framing here.