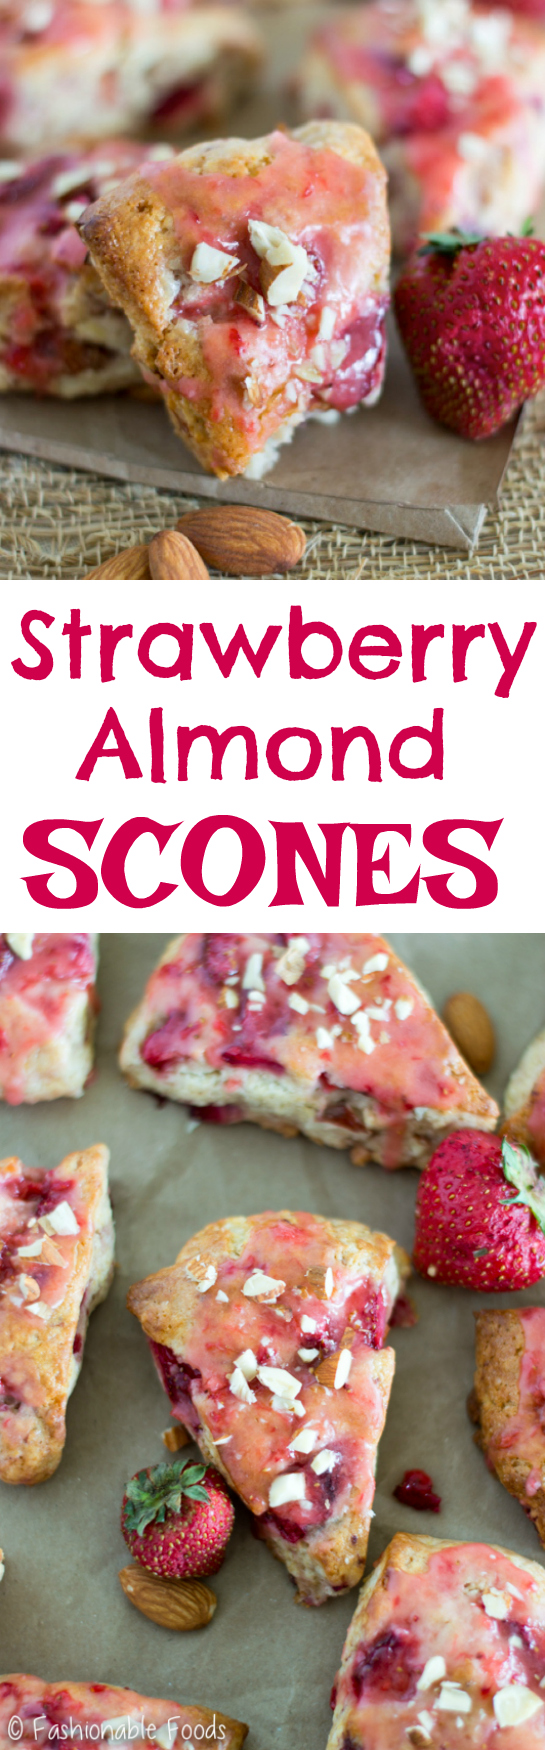
Soft and delicately sweet, these scones are addicting! Serve these gluten-free strawberry almond scones with tea or coffee for a delicious breakfast treat.
 Have you ever had an orange scone from Panera Bread? They were my absolute favorite scones before I had to eat gluten-free. I used to get them at least once a week, if not more. I assume the rest of their scone flavors were just as good, but I don’t know because I always went for the orange. They are soft and perfectly sweet – everything a scone should be! And, they are what inspired me to perfect my own homemade scones.
Scones can be tricky –I find most to be too dry and bland. I have been determined for a long time to make a soft, flaky scone, but have never been able to get them quite right. Until now. The funny thing about this scone recipe is that I came up with it on a random Tuesday morning – no planning ahead!
I opened the fridge, saw some strawberries that would soon be past their prime and decided I wanted to make scones. Weird for me as I usually never make things on the fly. The almonds were thrown in because I really love the combination of strawberries and almonds together. Turns out my not-planned-recipe turned out to be a big winner! I just love when that happens.
 I think the reason I love scones so much is because they aren’t too sweet and I’m usually not one for glazes, but on scones I love them. I think a glaze is necessary as it adds a wonderful sweetness that compliments the scone perfectly.
So, what is scone you ask? A scone is essentially just a quick-bread pastry. They are really easy to make and with a few tips you’ll be making bakery-worthy scones in no time!
 First, cold butter is absolutely essential. Think of a scone like a piecrust – you want it light and flaky and cold butter is what will give you that. Basically the cold butter helps to create steam during baking, which allows for little air pockets to form creating those flaky layers. I like to cube my butter and then pop it in the freezer for a few minutes to make sure that it’s nice and cold.
The next thing to remember when making scones is not to over mix the dough. Once you mix in the liquids it’s important to mix just until it’s all combined and then stop! If you over mix, you’ll end up with tough scones – and trust me, you don’t want that.
 Another important step in making the perfect scones is refrigeration. It’s so simple and yet so essential for the perfect texture. Once you have the scones cut and on the baking sheet, you’ll want to refrigerate them for at least 30 minutes before you bake them. Basically this step just reinforces the cold butter step. Once you put the cold scones into the hot oven the steam will create the perfect rise and texture!
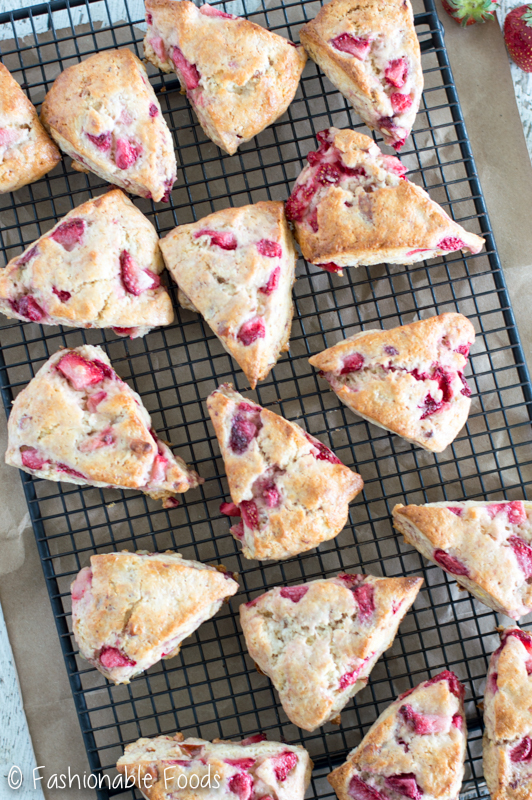
Once they are done baking you’ll have beautifully browned scones all ready for glazing – but make sure they cool first!
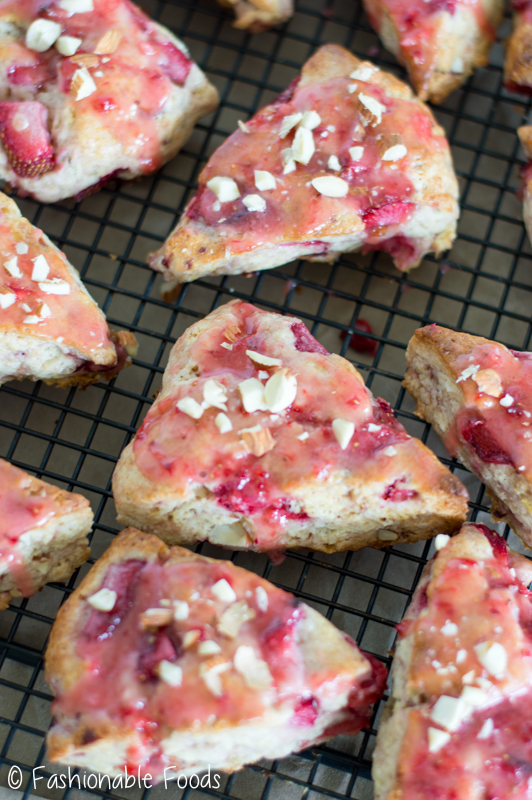
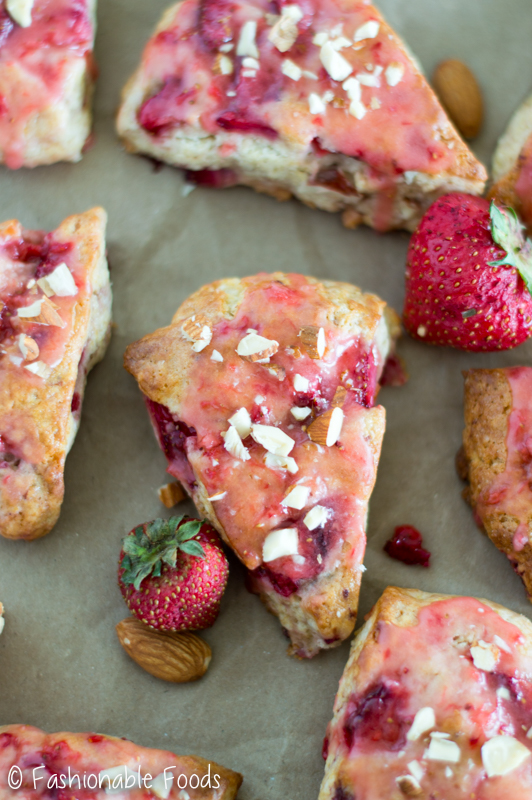
Now, for the glaze. I like to use fresh strawberries in the glaze as it really amps up the strawberry flavor here. I just take a few strawberries and pulse them in a mini food processor until smooth. Mix the strawberry puree with powdered sugar and vanilla extract until smooth and you’re ready to glaze! Just drizzle the scones and dig in!
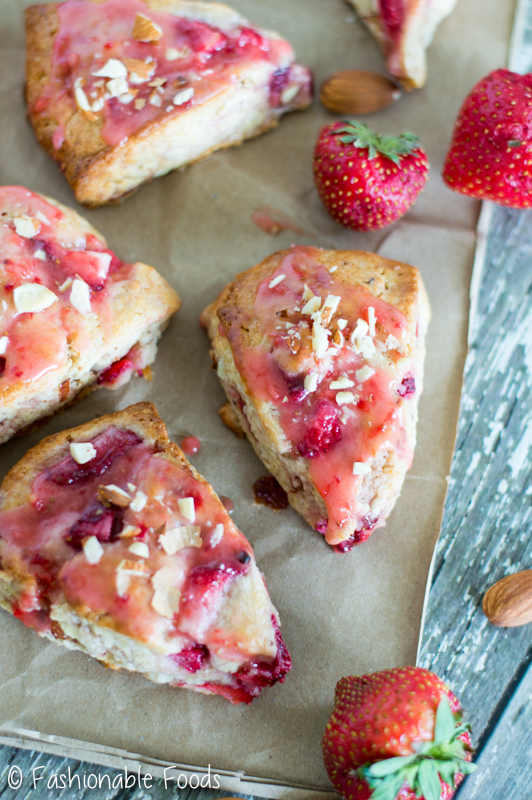
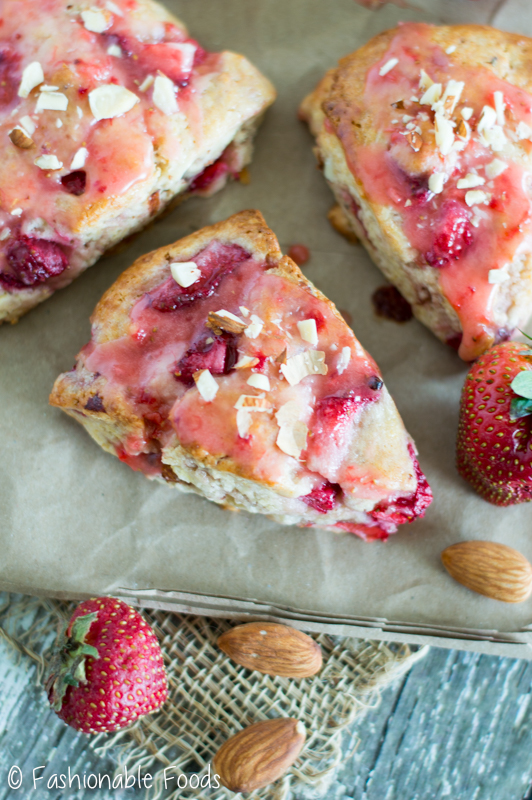
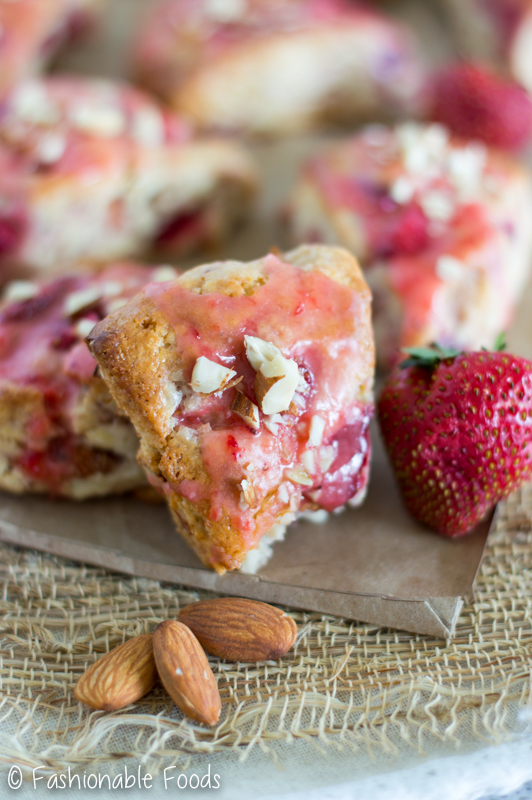
 I went a little photo-wild with these scones. How could I not? They are just so beautiful. Who doesn’t love a soft, flaky pastry studded with fruit and topped with a lovely pink glaze and sliced almonds?
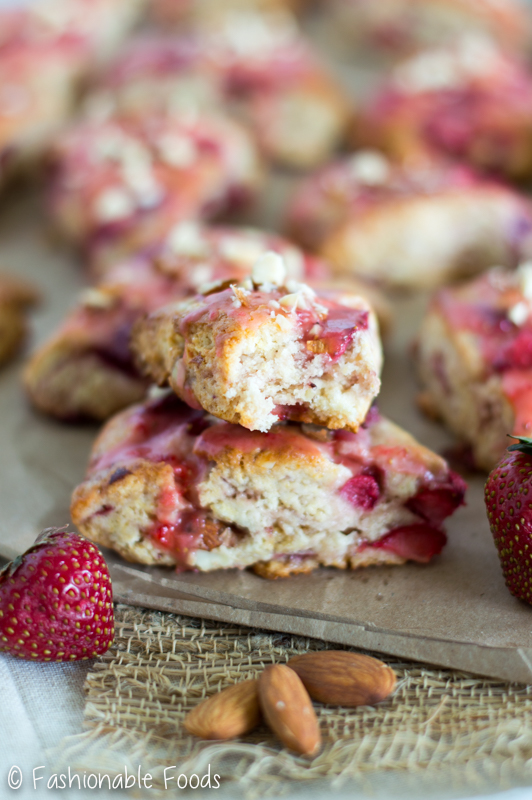
I assure you, these will be your new favorite breakfast item. And snack. And lunch. And dessert. You need to go make these ASAP. Then, grab a cup of tea (or coffee) and get ready to enter scone bliss. Yes, they are really that good.
- 1 Cup Fresh Strawberries, chopped
- 280 Grams Gluten-Free Flour Blend (like Cup4Cup or Bob's Red Mill), see recipe notes if you don't need these gluten-free!
- ¼ Cup Granulated Sugar
- ¼ Brown Sugar
- 1 Tablespoon Dry Milk Powder
- 1 Tablespoon Baking Powder
- 1 Teaspoon Salt
- ¼ Teaspoon Xanthan Gum, omit if your flour blend contains it
- 1 Stick Cold Butter, cut into cubes*
- 1 Egg, lightly beaten
- 1 Teaspoon Vanilla Extract
- 1 Teaspoon Almond Extract
- 2 Tablespoons Heavy Cream, plus more for brushing
- ¼ Cup Chopped Almonds
- 2 Large Fresh Strawberries, chopped
- ½ Cup Powdered Sugar
- ¼ Teaspoon Vanilla Extract
- Chopped Almonds, for garnish
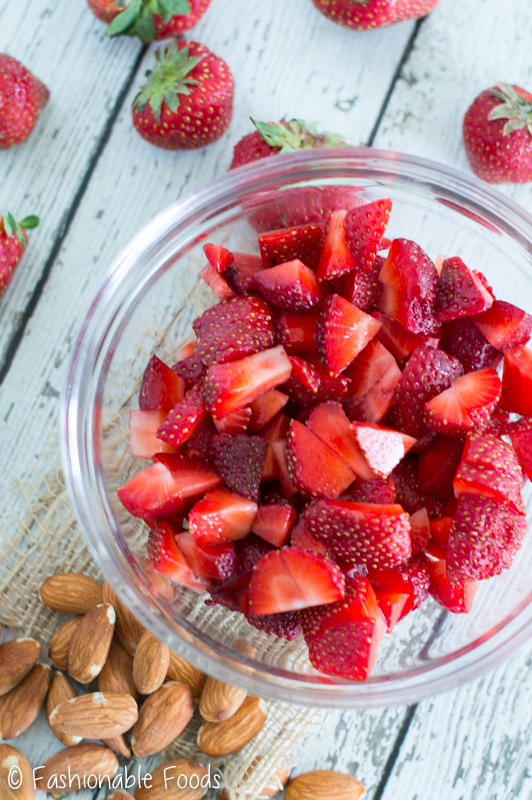
- In a small bowl toss the strawberries with a sprinkle of sugar and let stand for 10 minutes. Using a potato masher or fork, gently mash the strawberries a few times to get a nice texture and push the juices out. Set aside.
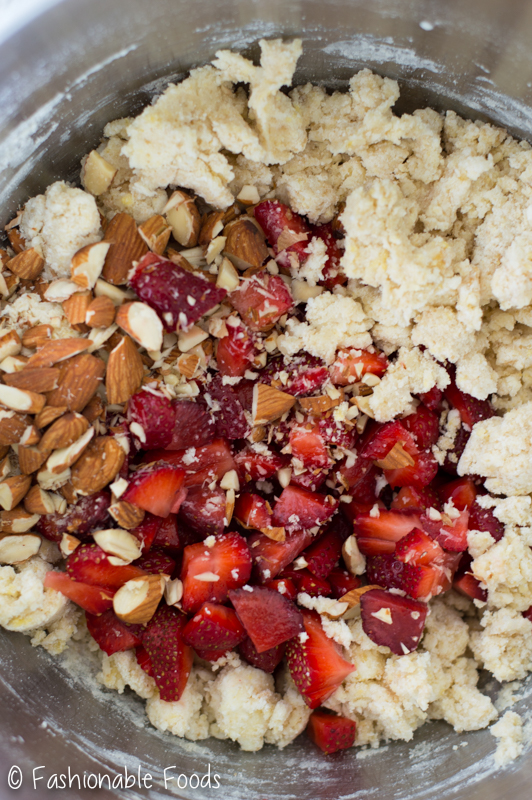
- In the bowl of a stand mixer fitted with the paddle attachment, combine the flour, sugar, dry milk powder, baking powder, salt, and xanthan gum (if using). Turn the mixer on low speed and add in the cold butter cubes. Mix until the dough resembles coarse crumbs. Add in the egg and the vanilla and almond extracts; mix until just combined. Add in the reserved strawberries and the almonds and mix until just combined. Pour in the cream, a little at a time (you may not need all of the cream) and mix just until the dough comes together.
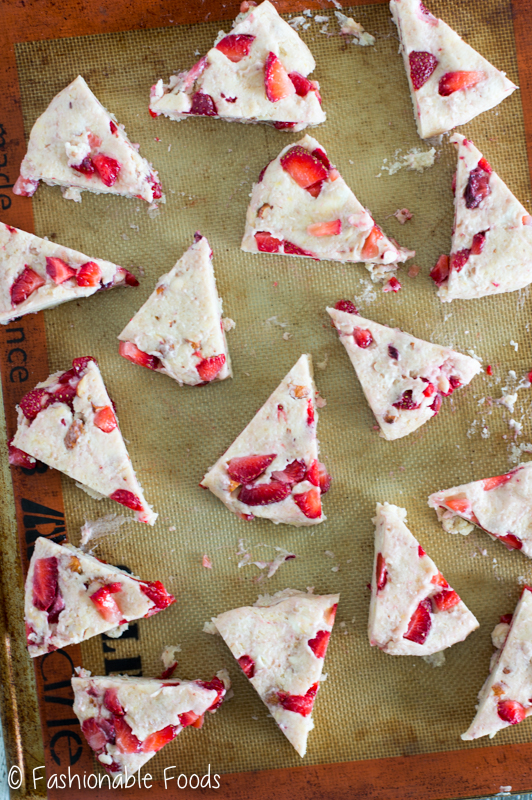
- Pour the dough out onto a floured work surface and form into 2 rounds for mini scones (or 1 large round for large scones), about ¾-inch thick. Brush the rounds with light cream and then cut each into 8 equal pieces. Arrange the scones on a parchment covered sheet pan and refrigerate for at least 30 minutes.
- Preheat the oven to 425º. Take the scones from the fridge to the preheated oven and bake for 18-20 minutes, or until they are deep golden brown in color. Remove them to a cooling rack and allow to cool completely before glazing.
- Add the strawberries in the bowl of a mini food processor and pulse until smooth. In a small bowl, whisk together the strawberry puree, powdered sugar, and vanilla. Drizzle the cooled scones with the glaze. The scones will keep for 5 days in an airtight container in the fridge.
- *If you don't need these to be gluten-free, simply swap the gluten-free flour for regular all-purpose flour (280 grams or about 2 1/3 cups). Omit the dry milk powder and xanthan gum.
- *Add the cream in slowly and stop as soon as the dough comes together. You may need all of the cream if it's a particularly dry day, but if it's humid you may not. If you add too much and the dough ends up too wet, just add some more flour. If the dough is too dry, add more cream.
- I like to cube my butter and pop it into the freezer for a few minutes while I prepare the rest of the ingredients for the recipe. This is important because you want the butter as cold as possible because this is what creates a nice flaky scone.
- *Another important step in the recipe is refrigerating the scones before you bake them. This allows them to be cold so that when they hit the hot oven there will be steam. The steam is what helps the butter to create pockets resulting in a super flaky and soft scone. Don't skip this step!!
- *This recipe makes 16 mini scones, or 8 large scones.
Hi Kari,
Is there a substitute for the milk powder?
First scone recipe I’ve seen with an egg, is it really needed? My daughter is egg free, allergy.
I can’t wait to make these!
Also there is no print button on here
These look amazing, and that glaze sounds fantastic! Whether they’re muffin-like in texture or not, I would devour these scones in an instant! I like eating this food while playing geometry dash scratch which is awesome.
These strawberry almond scones look delightful! I love how the almond extract complements the strawberries. Have you tried any variations, like adding lemon zest for a citrus twist? Also, I’m curious if you’d recommend any games for enjoying while baking
It is rare to find a site where the performance of meal is this consistent and reliable.