Crispy crust with a soft inside and topped with all of your favorite toppings! Homemade pizza is a must-have in your repertoire!
Note: this is a very lengthy post because I give you step by step instructions and a lot of explanation.

I have a confession to make… I hate pizza. I know, I get that look a lot. I come from a pizza loving family – pizza made an appearance in my house just about everyday. So, why don’t I love pizza? Well, to be honest I really don’t have a solid answer.
Pizza always looks and sounds good to me, but then I grab a piece and I’m just left disappointed. Don’t get me wrong, there are pizzas out there that I like, but even with those I don’t go crazy. I’ll go out for pizza or order delivery and eat it, but I don’t love it. I’d rather eat something else!
Still in shock? Yeah, I understand. I feel the same way when people say they don’t like tomatoes.
Ok, so why on earth am I doing a blog post all about homemade pizza? Because I love making pizza! Plus homemade pizza is in a completely different category than the average takeout pizza. So I tend to be more excited about it!
As if I’m not weird enough, when I was a kid my parents used to get pizza with mushrooms on it for me. I wouldn’t eat the pizza, but I picked off the mushrooms and ate those!
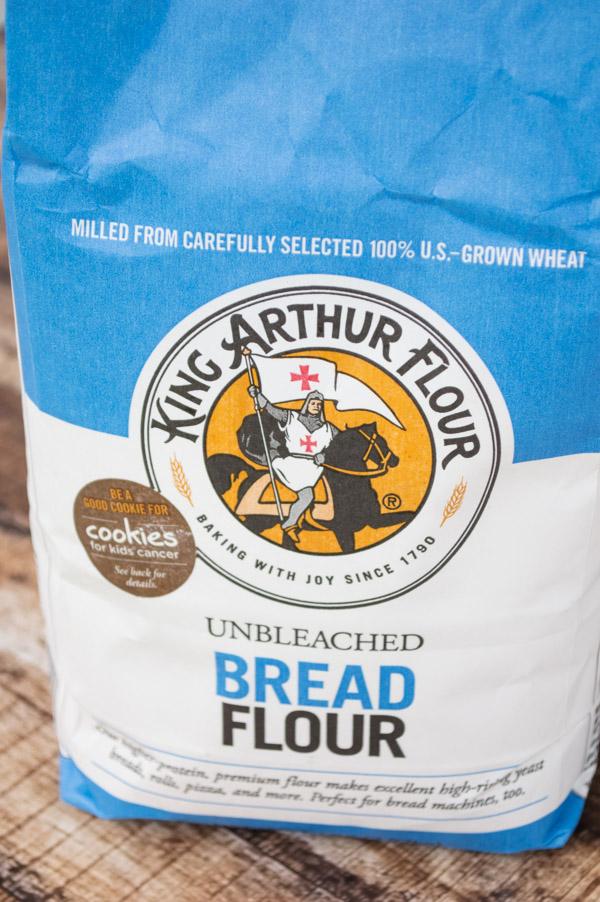
All right, lets get into making pizza! First, you need to start with the right flour. Now, I’ve been making pizza for years… for a while it was once a week, so I know what I’m talking about here. Bread flour makes the best pizza crust because it is higher in protein than other flours. This means that you’ll get a better rise and more gluten will develop, resulting in a crispy, chewy pizza crust.
I recommend King Arthur Flour – this is the only brand of flour I use period. It’s just better than other flours because it’s consistent and made with strict standards. You’ll notice a difference in your baked goods! I have yet to find a grocery store that doesn’t carry it, but it’s available online if you can’t find it.
Ok, now that you have the right flour you’ll need to measure out 3 cups of it into a large bowl. To that, add 1 ½ teaspoons salt, 1 tablespoon sugar, 2 ½ teaspoons yeast, and 3 tablespoons of olive oil. Next comes the water – this part can get a little tricky if you aren’t careful. You need warm water that is 100-110º and you don’t want to just dump the water in because if it’s too much, you’ll end up with sticky, watery dough. It’s best to add the water slowly because you can always add more.
By the way, I can tell just by feeling the water if it’s the right temperature – yes I’ve made that much pizza. You can use a meat thermometer to be sure!
I add the water a ½ cup at a time while mixing the dough gently with a fork. You’ll want to do this until the dough comes together – if it’s too dry it will be crumbly. It usually takes between 1 and 1 ½ cups of water depending on the humidity.
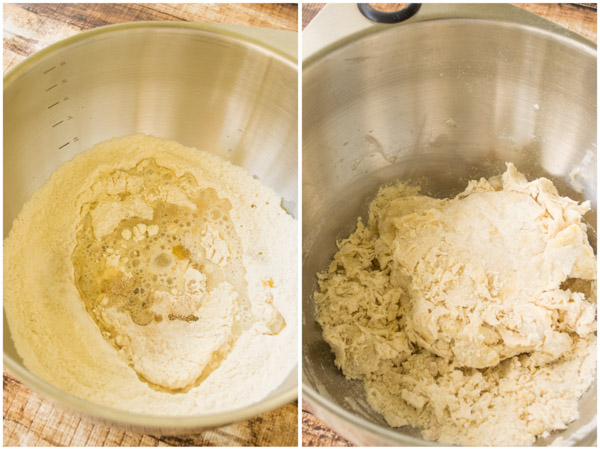
The dough should form a ball and clean the bowl of any residual flour, but shouldn’t be sticky. If it’s sticky you can add a little flour to bring it to the right consistency.
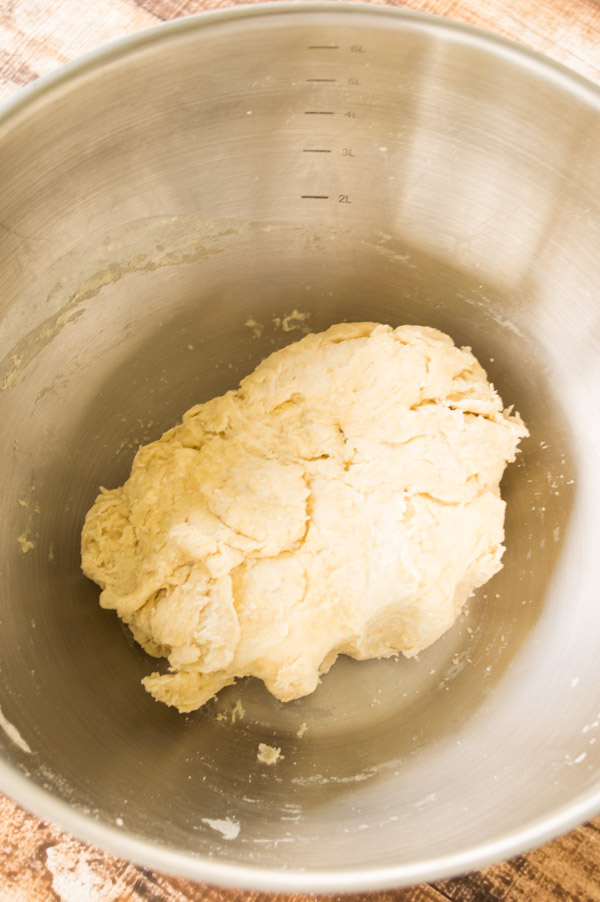
Once you have your dough together you’ll want to knead it on a floured surface.
Side note: if you have a mixer by all means use it! You’ll get the best knead by using a mixer, but I wanted to show you that it can be made by hand incase you don’t have one.
To knead the dough, place your palm on the dough and flatten it. Then fold it in half and press it again. Repeat this 15-20 times or until the dough is very smooth and elastic.

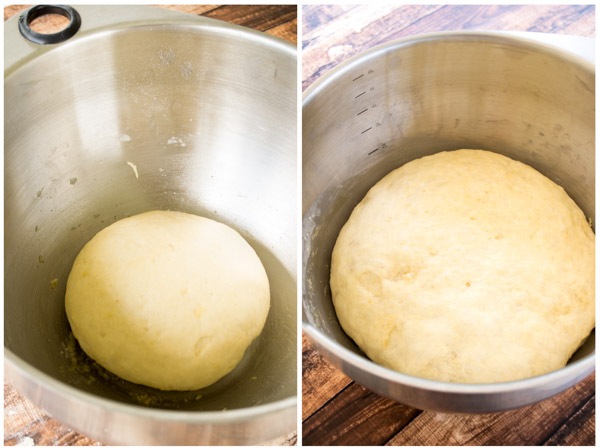
Grab the large bowl that you mixed the dough in and oil it lightly. Place the dough in the bowl and cover with plastic wrap. Allow the dough to rise in a warm, draft free place for at least 2 hours. I like to turn my oven on for 5 minutes and then shut it off and let my dough rise in there. Just make sure the oven is OFF!!
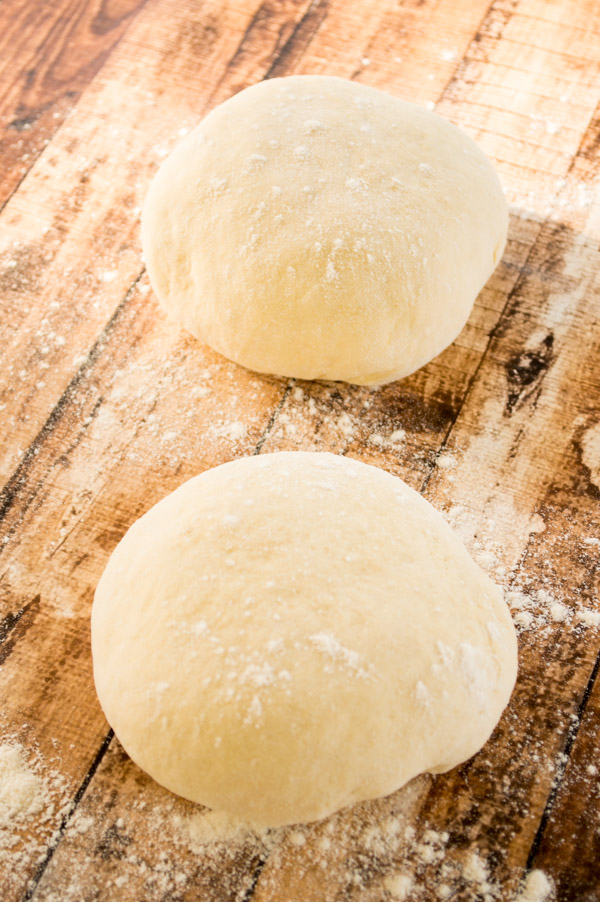
Once your dough has risen, gently cut it into 2 pieces and knead each piece into its own ball. At this point you can wrap them and freeze for up to 3 months. If you plan on using them right away, let them rest for 30 minutes covered with a kitchen towel.
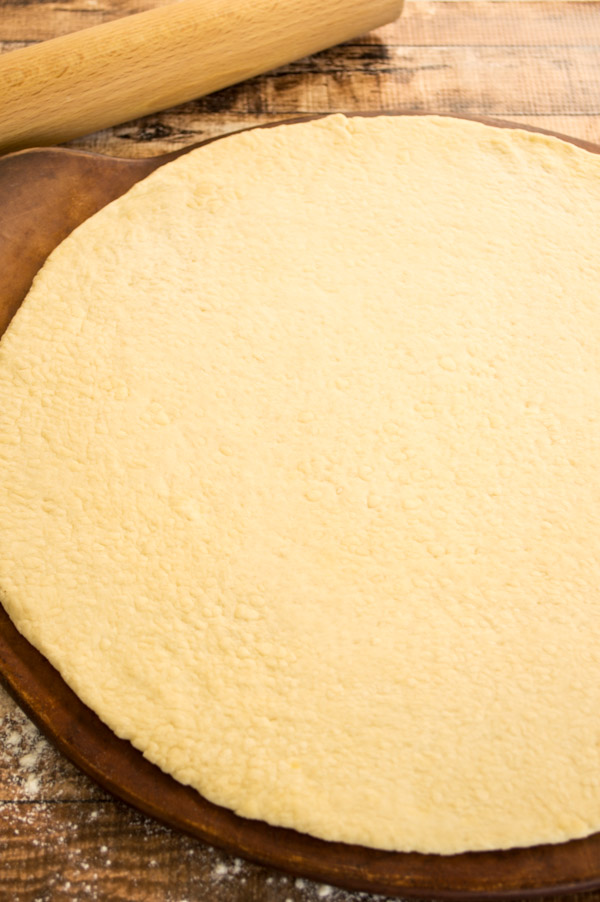
Now you’re ready to roll it out and top it! Rolling out pizza dough seems to be what people have the most trouble with. My best advice is to have some patience and make sure to start with a round piece of dough. If it’s not round when you start, it’s not going to be round in the end.
It’s not a huge deal if it’s not perfectly round, but I’m a perfectionist so I like my pizza to be perfect! If you find you’re having trouble and the dough is not cooperating, walk away for 10-15 minutes. High gluten means a lot of elasticity in the dough – which is good for taste and texture, but can be difficult to work with. Walk away from it and let the glutens rest (and you too!) and then come back and try again. Practice makes perfect here – I was definitely not a pro the first time I made pizza, but it gets a lot easier once you do it a couple times.
Also, I only make my pizza on a pizza stone – if you don’t have one you can use a regular pan, but I highly recommend a pizza stone for the crispiest crust! Sprinkle a little cornmeal on the pan before the dough – this will ensure the dough stays dry when it bakes, resulting in a nice crisp crust.
Still with me? I know it’s a lot, but I really wanted to give you an in depth explanation. It’s really not hard at all and after you do it a few times it will be even easier! I can whip up pizza in my sleep!
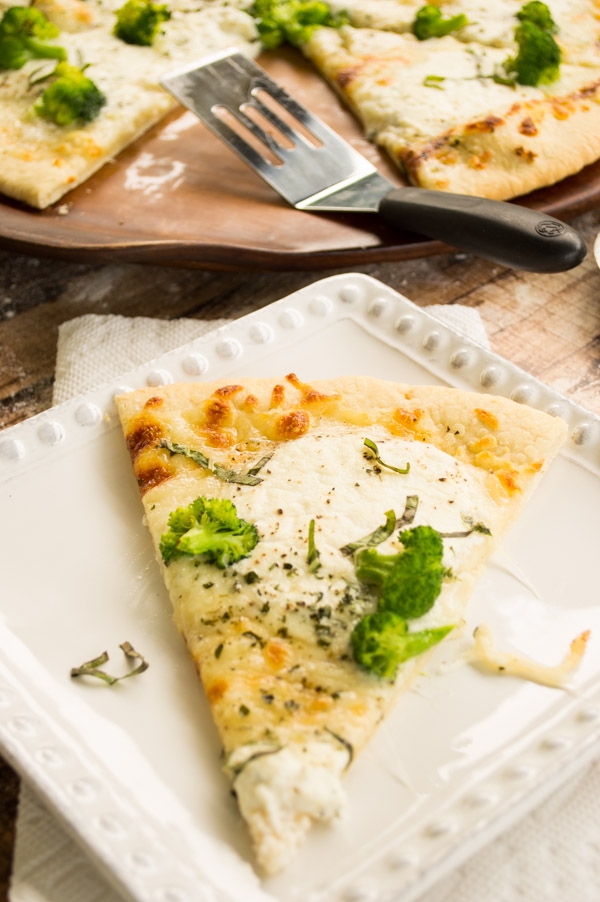
You can see from my photos I made a white pizza. That’s my favorite and you can add any veggies you want to it. However, you can make whatever kind of pizza your little heart desires – cheese, pepperoni, mushrooms, sausage, and margherita… the possibilities are endless here!
It’s Friday night – go make some pizza!!


Pizza Dough
Crispy pizza crust that is perfectly chewy! You’ll be happy to have this recipe on hand for pizza nights – top it with your favorite toppings and enjoy!
| Yield: 2 12-14-inch Crusts | Prep Time: 10 Min | Rise Time: 2 Hrs |
INGREDIENTS
3 Cups Bread Flour, recommended King Arthur
1 ½ Teaspoons Kosher Salt
1 Tablespoon Granulated Sugar
2 ½ Teaspoons Dry Active Yeast*
3 Tablespoons Extra Virgin Olive Oil
1 – 1 ½ Cups Warm Water, between 100-110º
Cornmeal, for sprinkling
DIRECTIONS
In a large mixing bowl, combine the flour, salt, sugar, yeast, and olive oil. Add the water, ½ cup at a time and work the dough with a fork. Once it comes together, knead the dough until you have a smooth ball – you should have to knead it 10-15 times for this to happen. The dough will be smooth and elastic and not sticky or dry.
Transfer the dough ball to a lightly oiled bowl, cover the bowl with plastic wrap and allow the dough to rise for at least 2 hours in a warm, draft-free location. The pizza dough will have tripled in size. Gently remove the dough from the bowl onto a floured board and cut it into 2 equal pieces. Knead each piece a few times and form each into a smooth ball. Cover the dough pieces with a kitchen towel and let them rest for 30 minutes.
Roll out each piece into a 12-14 inch circle (12 for a little thicker crust, or 14 for thin crust) and place on a pizza stone that has been sprinkled with cornmeal. Top with your favorite toppings – see my favorite below!
Dough can be frozen for up to 3 months, thaw it in a lightly oiled bowl and allow it to rise again.
* I like to buy the jarred yeast over the packets because I use it frequently and the jar lasts a long time. If you have the packets you will just need to use 1 packet for this recipe. Store your yeast in the refrigerator to get the longest shelf life out of it.
White Pizza
Garlicky, cheesy, and a hint of freshness this white pizza will make you forget about takeout!
| Yield: 1, 14-inch Pizza | Prep Time: 10 Min | Cook Time: 12-15 Min |
INGREDIENTS
1 Pizza Dough Ball, recipe above
Cornmeal, for sprinkling
Extra Virgin Olive Oil, for drizzling
3 Garlic Cloves, finely chopped
1 ½ Cups Mozzarella Cheese
½ Cup Ricotta Cheese
½ Cup Cooked Broccoli Florets
Kosher Salt and Freshly Ground Black Pepper, to taste
1 Tablespoons Freshly Chopped Basil
Grated Parmesan Cheese, optional
DIRECTIONS
Preheat the oven to 425º.
Roll out the dough into a 14-inch round for a thin crust pizza and place on a pizza stone that has been sprinkled with cornmeal. Drizzle the dough evenly with a little olive oil and sprinkle the garlic overtop. Add the cheese, leaving an inch border for the crust. Evenly dollop the ricotta cheese overtop and place the broccoli florets all over the pizza. Sprinkle with salt and pepper and bake at 425º for 12-15 minutes, or until the top is bubbly and lightly golden. Remove the pizza from the oven and sprinkle with chopped basil and parmesan cheese if desired.
Looks so good!! Perfect for a Friday night! And great photos!!
Thank you! 🙂
Hi Auther!
i really like your post. keep making information like this.
Regards:
Thai Food Near Me
Nice Post Keep it up
Those pizzas look like they would be so fun for appetizers! And I love that you made your own dough Gotta try these!
Regards:
Snacks Near Me
You need to use strength to make the dough softer like you have good skills to be able to play geometry dash meltdown I don’t like sweet food so I usually reduce the amount of sugar and cream.
Students of different grades will have significant differences in Assignment assignments. Nowadays, many people find Assignment assignments cumbersome, and when some complex Assignment assignments cannot be completed on their own, they can choose professional Assignment assignment ghostwriting to complete them. There are indeed such institutions in the market, which provide excellent overall service and perform well in writing, What do we need to pay attention to during the assignment ghostwriting http://www.emwchinese.com/caessay ? While ensuring the quality of writing, it can also make students feel more confident about the results of such assignments.
With the previous puzzle search feature, strands hint allows users to easily access and review old puzzles.
Get your “write my essay” request handled by experts at RoyalWriter! Trusted by UK students, they guarantee top-quality essays with a 10% first-order discount.
slope is an exhilarating game where players control a ball rolling down an endless slope, navigating challenges while avoiding obstacles and edges to achieve the highest score possible in this fast-paced adventure.
BOAO is the leading global Atlas Copco air compressor distributor and spare parts wholesaler in China, providing Atlas Copco oil-injected rotary screw, oil-free, portable air compressors and spare parts. We can meet all your compressed air needs on https://www.boaoaircompressor.com/